OrcaSlicer vs PrusaSlicer vs Cura - Comparing the Most Popular Slicers
OrcaSlicer, PrusaSlicer and the Cura slicer, are three of the prominent 3D printing slicers you can use today. They are all free to use, open-source, and equipped with exceptional features that enhance your 3D printing experience.
With all these similarities and options, it can get challenging to choose the slicer that fits your needs perfectly. Maybe OrcaSlicer has the features you like, but PrusaSlicer’s supports work better. Or Cura has better 3D printer selection for you.
In this piece, we will answer these questions and more. We will compare OrcaSlicer, PrusaSlicer, and Cura based on their features, slicer settings, printer compatibility, and other parameters to determine which slicer comes out on top. This should help you make an informed decision and choose the slicer that best fits into your 3D printing workflow.
Let’s slice right into it.
OrcaSlicer
OrcaSlicer is a fork of the Bambu Studio slicer, which itself is a fork of the PrusaSlicer. OrcaSlicer adds onto the existing frame of the Bambu studio with features like detailed print settings, extra printer presets, auto calibrations for all printers and more.
It's a fully open-source slicer like the other two in the list and offers unique functionalities compared to the Bambu Studio. We have written an in-depth article on OrcaSlicer, which you can read to learn more about this slicer.
User Interface

The user interface of OrcaSlicer is as clean as the PrusaSlicer, albeit with all the settings located on the left panel. You can quickly access the printer, filament, and print settings from the left panel. This makes it easy to switch between different 3D printing workflows from a single place.
The toolbar on the top gives you access to multiple tools for manipulating your models. You can use these to orient the model as per your preferences and also customize its printing. For instance, you can quickly use adaptive layer height in your model, or paint supports from this panel.
The preview window is straightforward as well, and gives you information about the vital print statistics in a single glance. You also get to view the G-code which you can use to verify minutes of your final print.
Printer Options

OrcaSlicer has 136 3D printer presets from several 3D printer brands already loaded in its configuration menu. You can also add custom 3D printers in OrcaSlicer with ease, without having to worry about the firmware you’re using.
Slicer Settings
OrcaSlicer’s print settings are pretty similar to the PrusaSlicer, with more focus on print quality and speed. You have several settings which focus on quality, like the seam position, precision setting, wall generator, and line widths for different print features.
In terms of support settings, OrcaSlicer offers the standard and tree support structures. You can use the automatically generated supports or customize them based on the model’s needs. The acceleration and jerk settings are granular, allowing you to choose the speed for each aspect of the print.
OrcaSlicer also offers better support for multi-material printing, giving you complete control over the different aspects of the print. You can choose the filament for supports, prime tower settings and more in the same panel as other settings.
Standout Features
OrcaSlicer brings some neat features to the table which are absent in PrusaSlicer and Cura. Let’s take a close look at a few of them.
Multiple Slicing Plates

In OrcaSlicer, you can prepare multiple slicing plates at once using different models and unique print settings. This function allows you to prepare the next print job without having to leave the current one.
For instance, you can have a calibration cube on the first print plate, and slice a temperature tower on the second one. You can customize these two prints with their unique print settings as well.
This feature is helpful for batch 3D prints or to prepare the various 3D prints you’ll need for the entire project. You can quickly get an overview of the whole print time and material use and simply send the models to print one after another.
Seam Gap

Image Source : Softfever Wiki Github
The seam gap pauses the material extrusion for a specific length at the end of the closed loop. This reduces the amount of material deposited, resulting in a less noticeable seam on the final print.
OrcaSlicer lets you specify the length of the seam gap in distance units or as a percentage of the nozzle diameter. This feature is useful where you need to maintain the surface quality of the model and do not want any blobs or zits on the print’s surface.
Wipe on Loops

Image Source : Softfever Wiki Github
This setting in OrcaSlicer moves the nozzle slightly inward as it ends the close-loop extrusion. By doing so, the nozzle “wipes” the excess filament somewhat on the inside of the 3D print, reducing any visible Z-seam.
Remote Printer Control

For Klipper printers, OrcaSlicer enables direct control from its slicing interface. By entering the printer's IP address, you can use Klipper’s web interface within OrcaSlicer to control and monitor 3D prints.
This includes sending the gcode file, monitoring the webcam view, updating printer configuration, and more, all within a single window for all your 3D printing tasks.
PrusaSlicer
PrusaSlicer is a derivative of Slic3r PE, which itself is based on the original Slic3r software. Due to this lineage, PrusaSlicer shares many similarities with the original Slic3r.
Over time, PrusaSlicer has been tailored to better accommodate Prusa 3D printers. It supports all Prusa printers, including the Prusa SLS printer, making it one of the few slicers that cater to both FDM and resin 3D printers.
You’ll also find support for several 3rd party printers, making PrusaSlicer an excellent option for hobbyists and small businesses. Let’s now get down to the actual elements and understand them in detail.
User Interface

The overall user interface (UI) of the PrusaSlicer is neat and clean. You can choose from different slicer, printer and filament profiles right in the main window. The plater tab (build plate) is neatly laid out and you can manipulate it with ease. All the 3D tools like scaling, orientation, cutting, measurement are on the left tab, making it easy for you to quickly access them.
PrusaSlicer offers three levels of settings – Simple, Advanced and Expert, which you can choose from based on your experience. The settings window is divided into Print, filament and Printer settings, and each setting is separated well into different sections.
Lastly, the preview window is filled with all the necessary information about the sliced model. You can see the weight, printing time, various elements of the 3D print and examine every minute detail of the 3D print before sending it over to the printer.
Printer Compatibility

As of now, PrusaSlicer offers 192 3rd party 3D printer profiles from 29 brands. It covers popular 3D printers like the Creality Ender 3, as well as unique ones like the Chocolate printer from Cocoa Press. Additionally, you can create a custom 3D printer profile in PrusaSlicer if you're developing a new printer.
With this wide range of options, you can be confident that PrusaSlicer supports your printer. In the instance that you don’t find the profile for your particular 3D printer, the workflow to create one is straightforward.
Slicer Settings

PrusaSlicer has an extensive list of slicer settings for your 3D prints. You can choose from around 17 different infill patterns, set the seam position, use fuzzy skin, experiment with three styles of support structures, and many more useful features. It’s packed to the brim (pun intended) slicer settings, which you can use to improve your 3D printing experience.
Standout Features
PrusaSlicer comes with an array of features which are unique to it. These features help PrusaSlicer stand out from the rest and give your 3D prints an edge.
Custom Gcodes

PrusaSlicer makes it extremely easy for you to add Custom G-codes to your 3D prints. In the preview window you can choose the layer at which you want to insert the custom g-code, and PrusaSlicer will use it in the final print.
Using this feature, you can insert a color change g-code, pause the printer at a specific height to insert magnets or set varying temperatures at different layer heights. With a bit of G-code knowledge, you can use this function to improve your 3D prints.
Paint on supports

PrusaSlicer offers custom supports better than any other slicer. Using a paintbrush tool, you can easily add custom support structures to any part of your 3D model. You can customize the size and location of the supports to fit your needs.
This feature is useful for models where precise placement of support pillars is crucial, such as face busts, architectural models, and complex geometries.
Organic Supports
![]()
Organic supports are one of the significant additions to PrusaSlicer in the recent updates. Introduced in PrusaSlicer 2.6, these supports offer better stability, use less material, and require less printing time than traditional support structures. They don’t touch the print’s surface and, as a result, leave fewer marks and artifacts, reducing the post-processing cleanup.
This support style is excellent for aesthetic prints, decor items, and display items where the surface quality is essential. Functional 3D prints with intricate geometries and complex assembly models will also benefit from the organic support style.
Special Tools

The model manipulation tools in PrusaSlicer offer pretty unique functionality. You can cut the model and add connectors to it right in the slicing window. Using the measurement tool, you can measure the distance between any two points on your 3D model. The text embossing tool lets you emboss custom text on your model’s surface.
All these tools let you add the finishing touches to your 3D print without having to open the modeling software. You can add a custom logo to your model, slice up a large model into smaller pieces, and precisely measure the 3D model right in the PrusaSlicer.
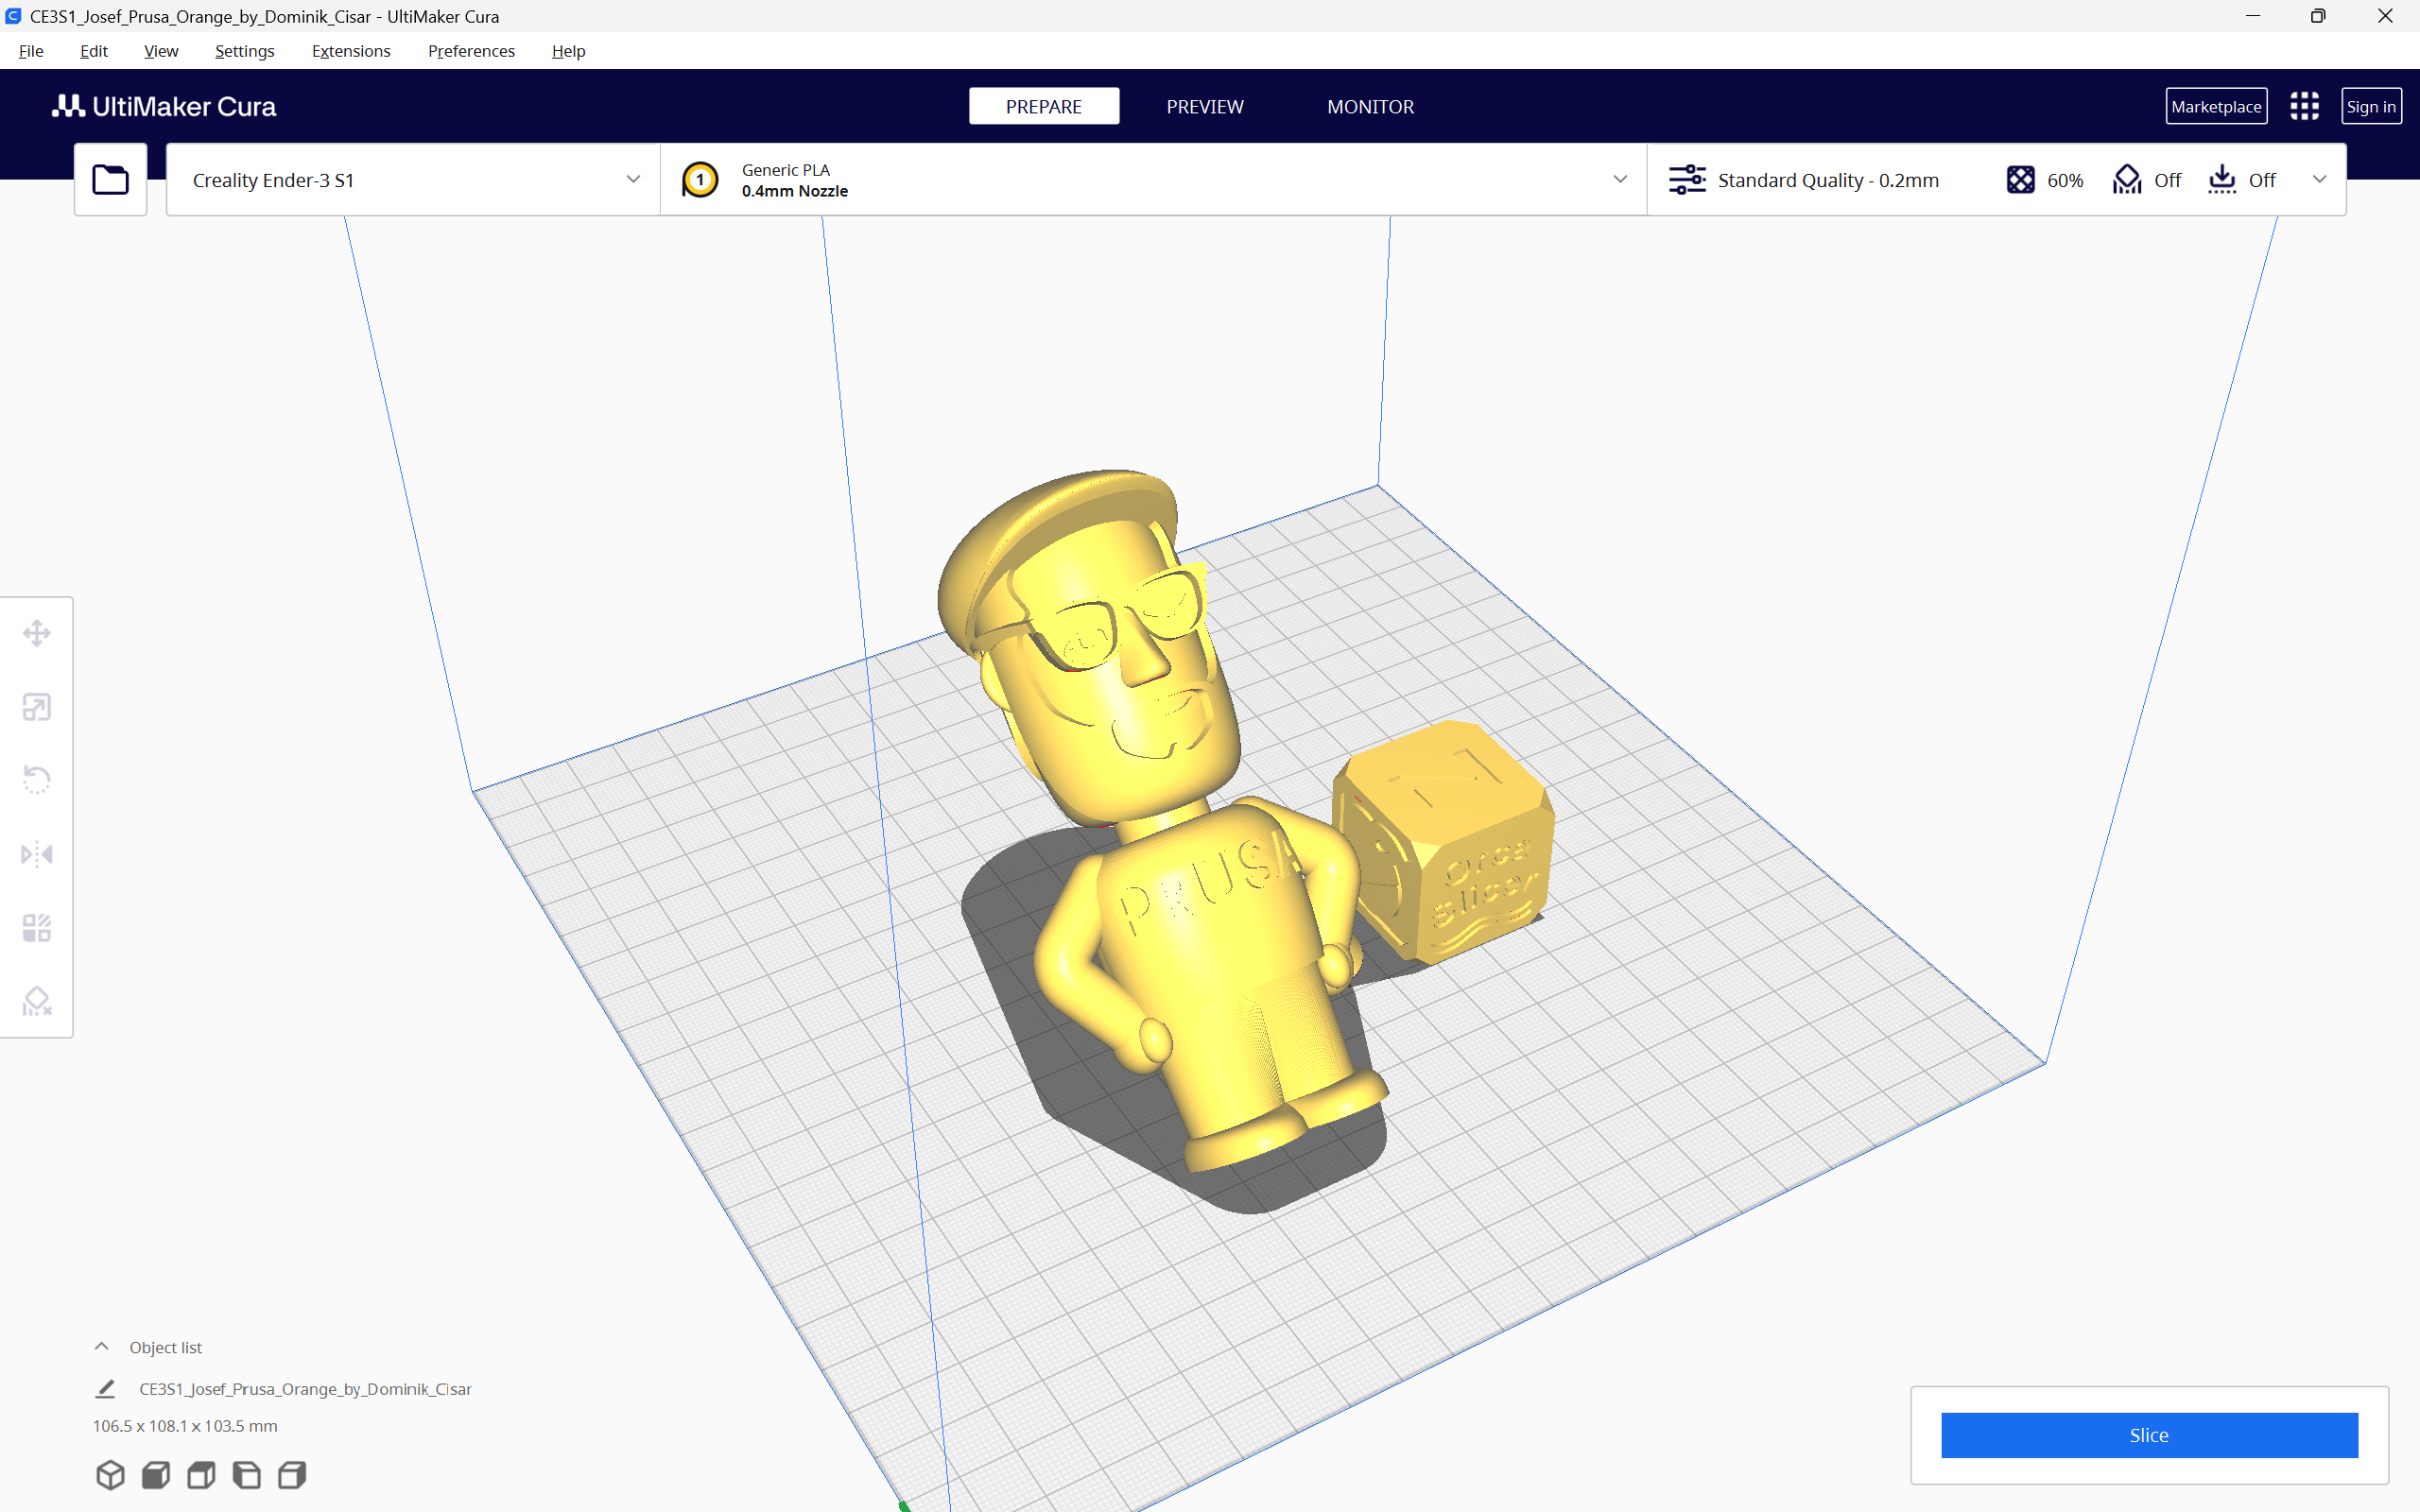
Cura
Cura is one of the most, if not the most, popular 3D printing slicers in use today. It’s one of the earliest slicers as well, with the first version being released in around 2014. Since then, it has been open-source and free to use, supporting 200+ 3D printers.
Being open-source, Cura benefits from the plethora of developers worldwide. It was the first to introduce the tree supports and the unique Gyroid infill pattern. Cura’s plugin marketplace is another unique feature that allows you to customize the slicer to fit your 3D printing workflow.
User Interface

Cura’s user interface is pretty clean, yet it gives you plenty of information at a single glance. The settings section at the top is easy to access, using which you can choose your printer and filament quickly. The slicer settings tab allows you to quickly switch between different printer profiles, and there’s an easy mode as well, which lets you slice the model with basic settings.
The toolbar on the left side gives you access to the essential tools for manipulating the model. These tools are not the friendliest to use when compared to PrusaSlicer and Orcaslicer, but they can get the job done.
The preview window is relatively easier to read than PrusaSlicer’s but misses out on the minutes of the 3D print. You get the basic print information like the print time, weight, and filament usage. However, Cura doesn’t go into detail about the various printing parameters like PrusaSlicer. It isn’t a dealbreaker, but something you should take note of.
Printer Compatibility

The printer compatibility of Cura surpasses that of any other slicer. It has hundreds of printer profiles from various 3D printing manufacturers, including smaller businesses. You can also easily add your custom 3D printer profile, making Cura one of the most widely supported slicers for 3D printing.
Slicer Settings

The Slicer settings in Cura are diverse and allow you to customize almost every aspect of your 3D print. You can choose from four preset printer profiles based on the layer height for the print. It also offers different levels of slicer settings, similar to PrusaSlicer which you can select as per your workflow.
The coasting and combing settings in Cura particularly stand out from the rest. Using these functions, you can reduce the stringing in your 3D prints and get a better print quality for your parts. Furthermore, the experimental settings section in Cura is neat as well, and you can use it to try out new settings for your 3D prints.
Standout Features
Similar to the previous two slicers, Cura offers some unique functionality. These features extend Cura’s usefulness beyond the primary slicer purposes, improving your printing experience.
Cura Plugins

Cura plugins allow you to install custom add-ons to the slicer, which can help with specific functions. For instance, you can install the Barbarian Units plugin to quickly convert the models from imperial units to metric ones. You can also use the AutoTowers Generator plugin to generate calibration towers instantly.
These plugins extend Cura's utility and give you the freedom to customize it to your preferences. They’re also completely open-source, and if you know programming, you can even create a custom plugin for Cura.
Custom scripts

Custom Scripts in Cura lets you customize the gcode to include certain commands. Similar to PrusaSlicer, using Custom scripts, you can add custom G-code commands to the sliced 3D files.
Cura gives you an easy-to-use interface for inserting custom G-codes. You can choose from any of the 14 post-processing scripts already included in Cura and customize the final printing of your model. Using these scripts, you can pause the print at a particular layer height, change the temperatures, change filaments, print speeds, and more.
It’s easier to use than PrusaSlicer as you don’t have to type in individual commands, making it accessible for complete beginners as well.
Modifier Geometry

This feature is for advanced users who want to customize the different areas of the final print. In Cura, you can use modifiers to localize the print settings to certain areas of the print.
For instance, you can add more infill at a certain section of the print where you need more strength. Or you can increase the number of walls at the corner to increase its strength.
This feature helps you save printing time and material as you don’t need to increase infill for the entire model; you can choose specific areas. It’s particularly useful for functional prints which have to undergo continuous stress.
Slicer Comparison
Up until now you’ve looked at the individual features of the slicer. Their UIs, the printer compatibility and features which make them stand out. Now, let’s compare them and evaluate how they stack up against each other.
Speed and Responsiveness
OrcaSlicer and PrusaSlicer are both programs primarily written in C++. As a result, these two slicers are faster and more responsive and use fewer computing resources in your system. In daily use, you can slice your models more quickly, apply slicer settings on the go, and run the slicer on a low-end computer effectively.
In contrast, Ultimaker Cura is mainly written in Python. This leads to Cura using up more of your computing resources and being comparatively less smooth than the other two slicers. It can get stuck while slicing large models or lag randomly when changing slicing settings.
When put together side by side, Cura delivers a poor user experience purely from a responsiveness viewpoint. It stutters at times and crashes randomly, which can lead to losing out on your project settings.
Printer Support
OrcaSlicer, PrusaSlicer, and Cura all have excellent printer support. They all have hundreds of printer presets of common 3D printers and also support custom 3D printers.
However, in terms of sheer number, Cura takes the lead among the three. It supports 200+ 3D printers from several brands, both hobbyist and professional.
Multi-material printing
All the three slicers support multi-material printing. They give you the option to add dual extruders, have support for multi-color 3D printers and more.
OrcaSlicer and PrusaSlicer, however, give you the best experience when it comes to printing with multiple colors. You can use a brush tool to paint the areas of the model where you want a separate color. It’s not yet possible in Cura.
Furthermore, OrcaSlicer is based on the Bambu Studio slicer. It focuses on the Bambulab 3D color 3D printers, thereby giving you a better multi-material experience. Similarly, PrusaSlicer is tailored for Prusa printers and has built-in functionality for multi-material printing, including support for Prusa's Multi-Material Upgrade (MMUs).
If your main focus is printing with multiple colors and materials, OrcaSlicer and PrusaSlicer are the best choices. These slicers have the necessary tools built in and deliver superior printing quality.
Community Support
Whenever you encounter an issue or need an extra helping hand, community support plays a crucial role in 3D printing. OrcaSlicer is still a relatively new slicer, and as such it doesn’t have as wide community support as the other two.
PrusaSlicer is based on the Slic3r software and also is the official slicer for Prusa 3D printers. It’s been around for a long time and you can find several community forums, troubleshooting guides, support articles around it.
Cura, too, has been around for almost a decade now and is one of the widely used 3D printing slicers. It’s the official slicer for Ultimaker 3D printers and is supported very well by Ultimaker. You’ll find tons of guides, support material, and forums for Cura, which can help you with almost any issue.
Update Frequency
PrusaSlicer and Cura are updated more frequently than OrcaSlicer. The first two slicers have the strong backing of their manufacturers and a broad open-source community support as well. On the other hand, OrcaSlicer is a fork and is primarily supported by the open-source community.
This doesn't mean that you would only get one update a year with OrcaSlicer. You will still receive new features and bug fixes, but it might take more time compared to the other two slicers.
Final Thoughts
OrcaSlicer, PrusaSlicer, and Cura are all excellent 3D printing slicers. They have modern and user-friendly interfaces, are compatible with hundreds of 3D printers, and offer a wide range of slicer settings for various 3D printing needs.
OrcaSlicer and PrusaSlicer offer better multi-color printing. Cura has better community support, and printer presets. PrusaSlicer is fast, and its Organic supports are far superior to the rest of the two slicers.
OrcaSlicer lets you add multiple build plates and access the Klipper web interface right from the slicer. Cura has an extensive plugin marketplace which can elevate your printing experience. Adding custom g-code scripts is also a lot easier in Cura.
Ultimately, the choice of slicer depends on your specific requirements. While all three slicers have their strengths, one may be better suited to your needs than the others.
If you require advanced print settings, multi-material printing, and an extensive calibration menu, OrcaSlicer is the way to go. If you're part of the Prusa ecosystem and need a lightweight, responsive slicer with excellent supports, PrusaSlicer is the ideal choice. Lastly, if wide printer support, ease of use, and community support are your priorities, Cura comes highly recommended.